
Clean Floors Without Streaks Using Spray Mop Guide
Ever finished mopping your bottoms only to notice annoying stripes as soon as they dry? It’s frustrating — your home feels clean, but the bottom tells a different story. What if there was a way to get foamy, band-free bottoms without dragging a heavy pail around orre-mopping the same spot again and again? That’s exactly where a spray mop comes in.
The product provides simple and effective results which exceed customer expectations and completely transforms their bathroom cleaning methods when used properly. We will explain the correct method for using a spray mop which enables you to achieve perfect and streak-free results on every occasion.
1. Understand How a Spray Mop Works
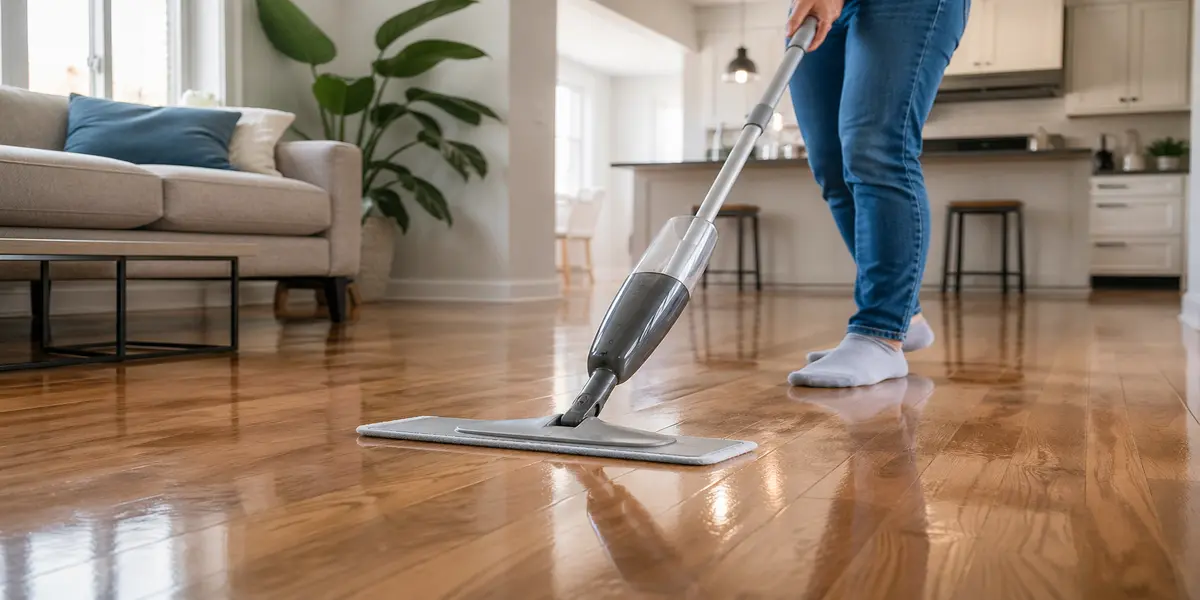
A spray mop is an expert cleaning tool designed to make bottom cleaning faster and lightly. Unlike traditional mops that bear a pail of water, a spray mop has a erected- in liquid vessel. With a simple detector, it sprays a fine mist of cleaning result directly onto the bottom.
This controlled spray helps you avoidover-wetting the bottom, which is one of the main causes of stripes and water marks. Because you use less liquid and more control, the bottom dries briskly and looks cleaner.
2. Choose the Right drawing result
The cleaning result you use plays a big part in achieving band-free bottoms. Some spray mops come with manufacturer- recommended results, while others allow you to use your own blend.
A simple result of warm water and a many drops of mild bottom cleanser generally works well. Avoid using too important soap, as it can leave a sticky residue that causes stripes once the bottom dries. For rustic or delicate bottoms, always use a pH-neutral cleanser to cover the face finish. This step is essential for a deep bond clean approach, helping the solution properly break down dirt and leave a long-lasting streak-free finish.
3. Prep the Floor Before Mopping
Before you start scattering, make sure the bottom is free of loose dirt and dust. reach or vacuum the area completely to remove debris.
still, the spray mop will simply spread dirt around rather of drawing it, If you skip this step. Pre-cleaning ensures that your mop focuses only on stains and light smut, giving a smoother finish.
4. Fill the Spray Mop duly
Fill the force with your chosen cleaning result according to the manufacturer’s instructions. Do not fill the container beyond its capacity because this action will reduce the effectiveness of the spraying function. The tank needs proper closure before its operation to prevent any potential leakages. Once filled, attach the microfiber pad to the mop head, icing it’s clean and duly fixed for indeed drawing.
5. Spray smoothly and Mop in Sections
When you start mopping, avoid scattering large quantities of liquid at formerly. rather, smoothly mist a small section of the bottom and incontinently mop it.
Work in small sections so the result does n’t sit too long on the face. This helps help stripes and ensures indeed drawing. Spray, mop, move forward is the ideal cleaning meter to follow.
6. Use the Right Mopping fashion
fashion matters more than pressure. Move the spray mop in smooth, lapping strokes, analogous to a figure- eight or S- shaped stir.
Avoid pressing too hard, as spray mops are designed to glide fluently. Let the microfiber pad do the work it lifts dirt and absorbs humidity effectively. harmonious stir ensures no patch is missed and prevents uneven drying marks. For broader home cleaning knowledge, see alsoh how to remove bathtub stains for a spotless finish?
7. Avoid Over-Saturating the bottom
One of the biggest miscalculations people make is scattering too important liquid. redundant humidity is the main cause of stripes, especially on penstocks, laminate, and hardwood bottoms.
A light mist is further than enough.However, you’ve probably used too much, If the bottom looks wet. The thing is damp cleaning, not soaking.
8. Replace or Clean the Mop Pad Regularly
A dirty mop pad can undo all your hard work. As you clean, the pad collects dirt and grease, which can transfer back onto the bottom if not gutted.
For stylish results, marshland or replace the microfiber pad after each use.However, consider switching the pad interior to maintain drawing effectiveness, If you’re drawing a large area.
9. Let the bottom Sot Naturally
One of the biggest advantages of using a spray mop is briskly drying time. Since you’re using minimum liquid, the bottom generally dries within twinkles.
Avoid walking on the wet face incontinently, especially in high- business areas, to help vestiges or stripes from forming. Good tailwind or open windows can speed up the drying process. For deeper hygiene maintenance, professional carpet cleaning can also help remove embedded dirt and improve overall floor freshness without damaging surfaces.
10. Maintain Your Spray Mop for Long- Term Use
To keep your spray mop working effectively, regular conservation is important. Empty the tank after each use to help residue buildup. Clean the snoot sometimes to avoid clogging.
The proper storage of the mop requires users to keep it standing in a dry area to protect its spray material from damage. Users who maintain equipment according to proper procedures will achieve both successful tool operation and extended equipment lifespan.
Conclusion
The spray mop provides users with a simple method to clean their floors because it produces clean results without creating the clutter that comes from using conventional mops. The correct professional cleaning result must be selected while light sprays need to be applied in specific areas which require controlled work. The proper usage of the product results in time savings and decreases difficulties while the product creates a refined appearance which enhances the freshness and attractiveness of your entire home.